Setting Preferences
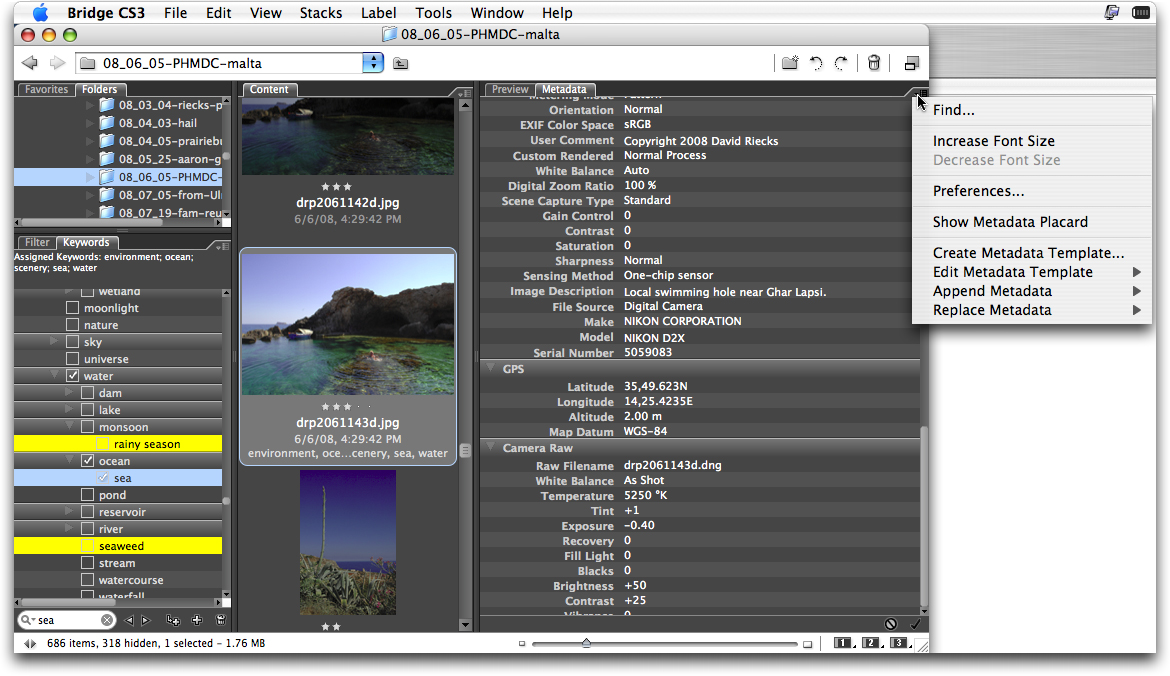
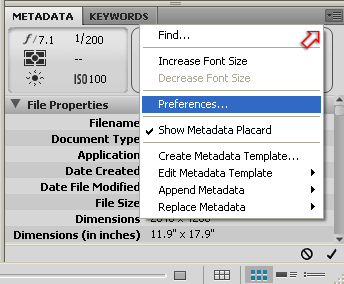
You can minimize the size of your metadata panel in Bridge by modifying the preferences to turn off fields you don't intend to fill. First, open the preferences dialogue using one of three methods: Select the icon in the top corner of the metadata panel and choose Preferences from the pull down menu; choose Preferences from the Bridge menu on a Mac or from the Edit menu on a Windows system; or use the Command (Mac) or Control (Windows) plus K hotkey combination.
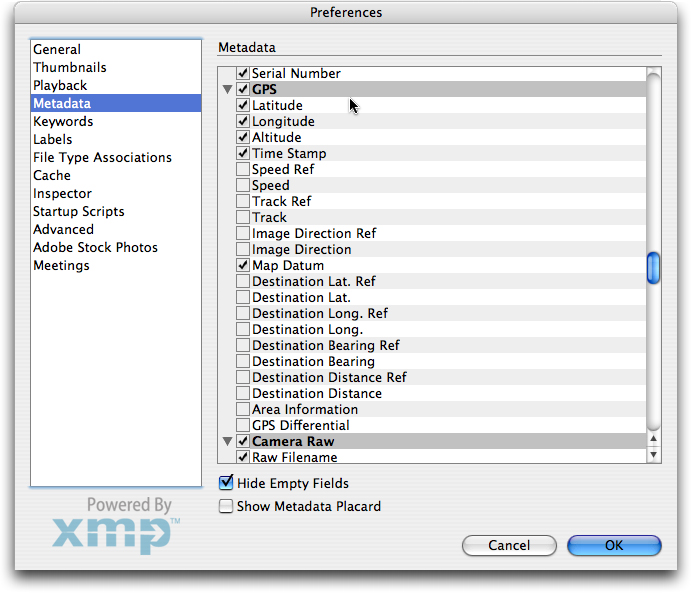
Next, go down the list and check or uncheck the fields you plan to fill or want displayed. Since the IPTC Core set encompasses nearly all fields in the IPTC (IIM or "legacy") schema, you may wish to only check those within the IPTC Core.
As a starting point, you might include Creator (author/photographer), Copyright, Source, Description (the detailed caption), as well as Location (building name or street address), City, State/Province, Country and Country Code. Keywords can really help when seeking one of those "needle in a haystack" images. Putting the actual filename of the image into the Title field will make it easy to find the image later, even if someone downloads the image and changes the name of the file to something they expect will be easy to recall, such as "fuzzy kitty."
For details on intended uses for these fields, see the Guide to Photo Metadata Fields or download the IPTC User's guide.
Unless you really need to know the camera you used or its exposure settings, you may want to toggle off the Camera Data, or Exif, fields (you can still enable them later if you need access to that information).
After making your preference selections, the metadata panel will look something like the following.
Once you have limited the number of visible fields, data entry might seem less daunting.
One of Bridge's most powerful features is that it allows adding metadata to a single image, a selection or an entire folder at once.
Let's start with a single image. After writing your caption, use the mouse to move your cursor into the next field. But you'll quickly learn it's much easier to use the TAB key to advance to the next field. (Shift + Tab will move to the previous field.)
When entering your metadata, click the checkmark at the lower right of the metadata panel to confirm your entries and embed them in the file. If you don't click the checkmark and try to click away from the selected image(s), a dialogue will appear, asking whether to apply the changes.
For groups of images, many (sometimes all) metadata fields will be identical, making it much more efficient to embed this information simultaneously into all images of a selection or folder. Select a contiguous series of related images by clicking on the first image, then holding the Shift key down while clicking on the last image of the series (as images are selected, their borders turn a darker gray). Select groups of non-contiguous images by Command/Control clicking on each additional image.
After a few tries, this will become second nature. Labeling your images this way ensures caption information is never lost, since it travels with the file itself.